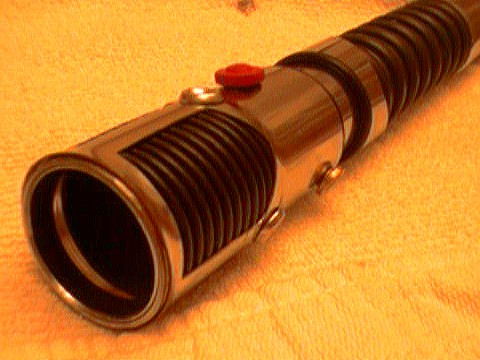
Emitter Section Assembly
Take about 4" of split tubing.
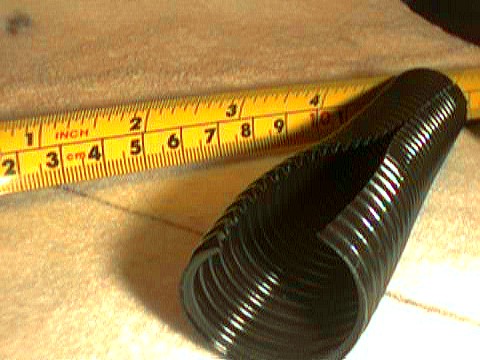 Cut it into three sections about 1-1/2" wide x 2" long. These sections
will lie under the vent openings of the emitter and may need a lot of trimming
and test fitting to get them perfect. Hey, at least
split tubing is cheap!
Cut it into three sections about 1-1/2" wide x 2" long. These sections
will lie under the vent openings of the emitter and may need a lot of trimming
and test fitting to get them perfect. Hey, at least
split tubing is cheap!
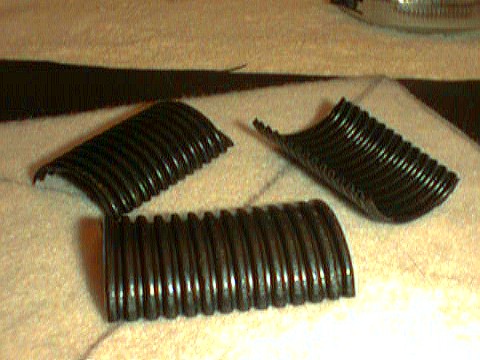 If you're having problems getting the tubing to sit properly in place due
to it originally having a smaller diameter, you may try what I did. Lay
the sections onto a piece of 1-1/2 tubing and tape them firmly in place.
Heat the sections while they are in place with a blow dryer on hot. Allow
them to cool while still taped down. They should retain a less curved shape
now.
If you're having problems getting the tubing to sit properly in place due
to it originally having a smaller diameter, you may try what I did. Lay
the sections onto a piece of 1-1/2 tubing and tape them firmly in place.
Heat the sections while they are in place with a blow dryer on hot. Allow
them to cool while still taped down. They should retain a less curved shape
now.
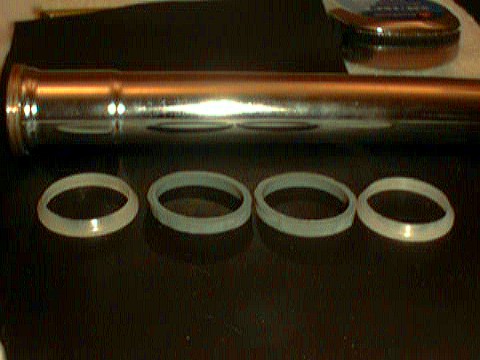
Take two plastic and two rubber 1-1/4" slip joint washers.
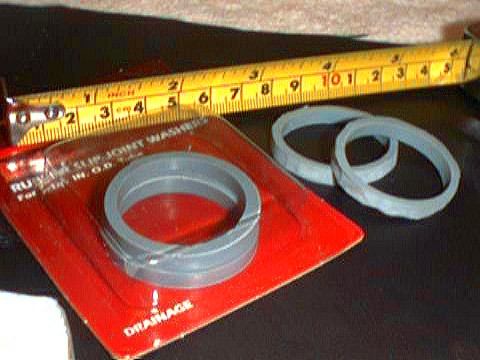 Place these four washers onto the base tube about 2" from the formerly
threaded end. I placed mine plastic-rubber-rubber-plastic.
Place these four washers onto the base tube about 2" from the formerly
threaded end. I placed mine plastic-rubber-rubber-plastic.
 Test fit the emitter tube section over the base tube with the washers in
place. You'll probably need to grind a little girth off of the rubber washers
to get them to fit properly, but don't take off more that you have to.
It should require a bit of effort to get the emitter section over the washers,
but the tight fit will give you a secure assembly.
Test fit the emitter tube section over the base tube with the washers in
place. You'll probably need to grind a little girth off of the rubber washers
to get them to fit properly, but don't take off more that you have to.
It should require a bit of effort to get the emitter section over the washers,
but the tight fit will give you a secure assembly.
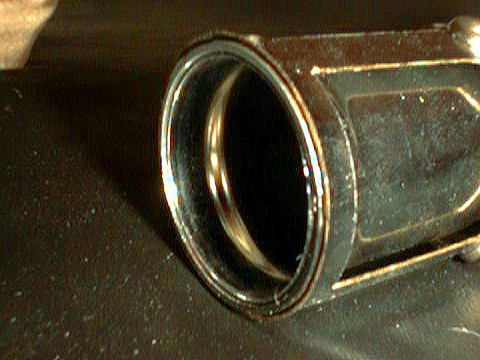 When the fit is sure, then place the split tube sections around the base
tube and slide the emitter tube back in place, sandwiching them between
the two tubes.
When the fit is sure, then place the split tube sections around the base
tube and slide the emitter tube back in place, sandwiching them between
the two tubes.
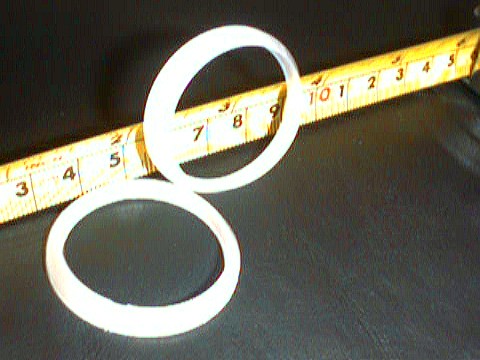
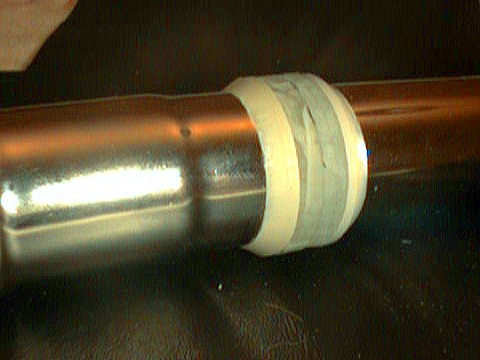
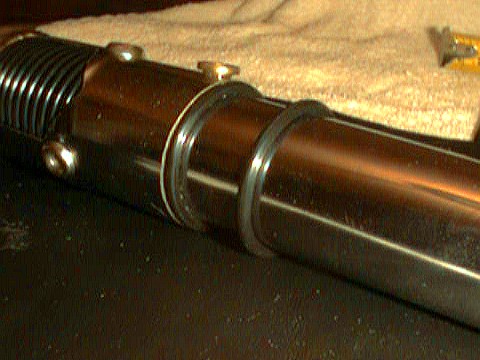
 Now take one of the large o-rings.
 Slide it onto the base to and bring it to the edge of emitter tube where
it will create an attractive interface between the two tubes.
Slide it onto the base to and bring it to the edge of emitter tube where
it will create an attractive interface between the two tubes.
Home Style
#2 Parts List
Emitter Tube Base
Tube Grip Tube
Pommel Tube Clip
Knob Emitter Assembly
Grip Assembly Pommel
Assembly Finishing
Touches Email
Me