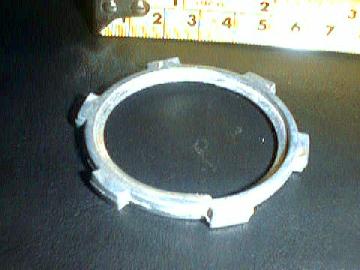
Take the box connector and remove the locknut and the screws.
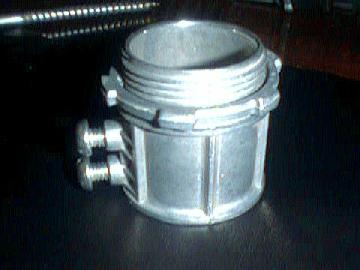
Use the construction paper and duct tape to build up the section of the wooden rod that will lie under the control collar. The non-threaded end of the box connector should rest against the lowest flat washer. Due to the interior shape of the collar there will be two different thicknesses. Be patient building up the thickness, doing one layer at a time to be sure that the collar will centered properly around the wooden rod. Place a large o-ring over the threads of the collar and then replace the locknut.

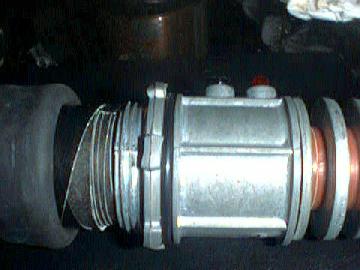
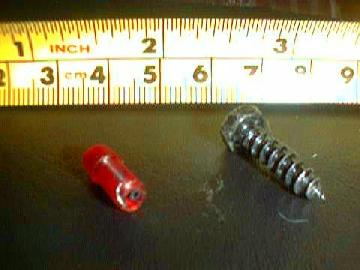
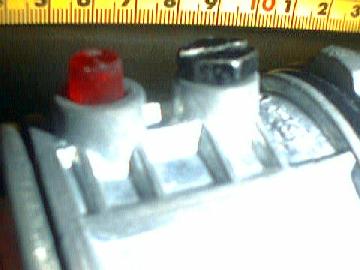
When the collar assembly is firmly in place, screw the small wood screw into one screw hole and place the lamp into the other. The screw should penetrate the wooden rod below. You may want to use some adhesive on the lamp.